Migrating from Selenium
Introduction
You can migrate your existing Selenium tests to Endtest.
This process will convert those tests into standard Endtest codeless automated tests.
It doesn't matter if your existing Selenium tests are written in Java, Python, Ruby or C# or any other programming language.
The same process also works for any automated testing library or solution as long as you can execute those tests in a Chrome browser and you are able to load the Endtest Chrome Extension.
How it works
The Selenium migration uses our own Endtest Chrome Extension to record the steps from your existing Selenium tests.
But instead of using it to manually record a test, you will load it directly into your existing Selenium tests.
You just have to add a few steps at the start and at the end of your existing tests.
The steps added at the start of your test will automatically add our Endtest Chrome Extension in the Chrome browser in which you are executing your Selenium tests, log in to the extension and start the recording process.
The steps added at the end of your test will stop the recording and save the recorded steps into a new test case on Endtest.
Instructions
You will need to add the following instructions in your existing Selenium tests:
- Load the Endtest Chrome Extension in your test.
- Fetch the dynamic URL for the Endtest Chrome Extension and store it in a variable.
- Log in to the Endtest Chrome Extension with your Endtest credentials.
- Enter the
Start from URLfor your test. - Click on the
Start Recordingbutton. - Click on the
Stop Recordingbutton. - Save your recorded test into your Endtest account.
Each element from our Endtest Chrome Extension has an ID and can be easily interacted with.
Here is the list of IDs for all the elements from our Endtest Chrome Extension:
| Section | Element | ID |
|---|---|---|
| Login | Email input | userEmailLoginInput |
| Login | Password input | userPasswordLoginInput |
| Login | Log In button | loginButton |
| All | Settings icon | settings_icon |
| Settings | Record Scroll Events checkbox | recordScrollEventsCheckbox |
| Settings | Record Hover Events checkbox | recordHoverEventsCheckbox |
| Settings | Don't use the "id" attribute checkbox | doNotUseIdAttribute |
| Settings | Don't use the "name" attribute checkbox | doNotUseNameAttribute |
| Settings | Don't use URL quert strings checkbox | doNotUseUrlQueryStrings |
| Settings | Ignore classes textarea | blacklist_classes |
| Settings | Custom data attributes textarea | custom_data_attributes |
| Settings | Done button | done_button |
| Before recording | Start from URL radio button | startFromUrlRadio |
| Before recording | Start from here radio button | startFromHereRadio |
| Before recording | URL input | urlInput |
| Before recording | Start Recording button | startRecordingButton |
| During recording | Pause Recording button | pauseRecordingButton |
| During recording | Stop Recording button | stopRecordingButton |
| During recording | Take Screenshot button | takeScreenshotButton |
| During recording | Add Assertion button | addAssertionButton |
| After recording | Test Case Name input | testCaseNameInput |
| After recording | Existing Test Suite radio button | existingTestSuiteRadio |
| After recording | New Test Suite radio button | newTestSuiteRadio |
| After recording | Test Suite Name input | newTestSuiteName |
| After recording | Choose Test Suite select | selectTestSuite |
| After recording | Save button | saveRecordingButton |
| After recording | Cancel button | cancelRecordingButton |
Example
Let's take a look at an example for migrating an existing Selenium test written in Python.
This is what the Selenium Python code looks like:
from selenium import webdriver
from selenium.webdriver.common.keys import Keys
from selenium.webdriver.common.by import By
from selenium.webdriver.support.ui import WebDriverWait
from selenium.webdriver.support import expected_conditions as EC
from selenium.webdriver.support.ui import Select
from selenium.webdriver.chrome.options import Options
from selenium.webdriver.common.desired_capabilities import DesiredCapabilities

# Configure and start the WebDriver
chromedriver = "C:\test\chromedriver.exe"

desired = DesiredCapabilities.CHROME
desired['loggingPrefs'] = {'browser': 'ALL','driver':  'ALL'}

options = webdriver.ChromeOptions()
options.add_argument('--allow-running-insecure-content')
options.add_argument('--ignore-certificate-errors')
options.add_argument("--unhandledPromptBehavior=accept")

driver = webdriver.Chrome(executable_path=chromedriver, chrome_options=options,desired_capabilities=desired)

# Start the test
driver.get("https://swit.io/auth/register")

driver.find_element_by_id('firstName').send_keys("Saul")
driver.find_element_by_id('lastName').send_keys("Goodman")
driver.find_element_by_id('email').send_keys("saul@example.com")
driver.find_element_by_id('password').send_keys("RandomString@#987")

driver.find_element_by_id('signup').click()

# Quit the test
driver.quit()
We need to add the following steps in our code:
- Load the Endtest Chrome Extension ZIP file in the Chrome browser from the test.
- Enter your Endtest credentials in the Endtest Chrome Extension.
- Enter the starting URL for your test.
- Click on the
Start Recordingbutton.
# Load the Endtest Chrome Extension
options.add_extension("C:\test\endtest_chrome_extension.zip")

# Log in to the Endtest Chrome Extension
driver.find_element_by_id('userEmailLoginInput').send_keys("user@endtest.io")
driver.find_element_by_id('userPasswordLoginInput').send_keys("your-password")
driver.find_element_by_id('loginButton').click()

# Enter the starting URL for your test
driver.find_element_by_id('urlInput').send_keys("https://swit.io/auth/register")

# Click on the Start Recording button
driver.find_element_by_id('startRecordingButton').click()
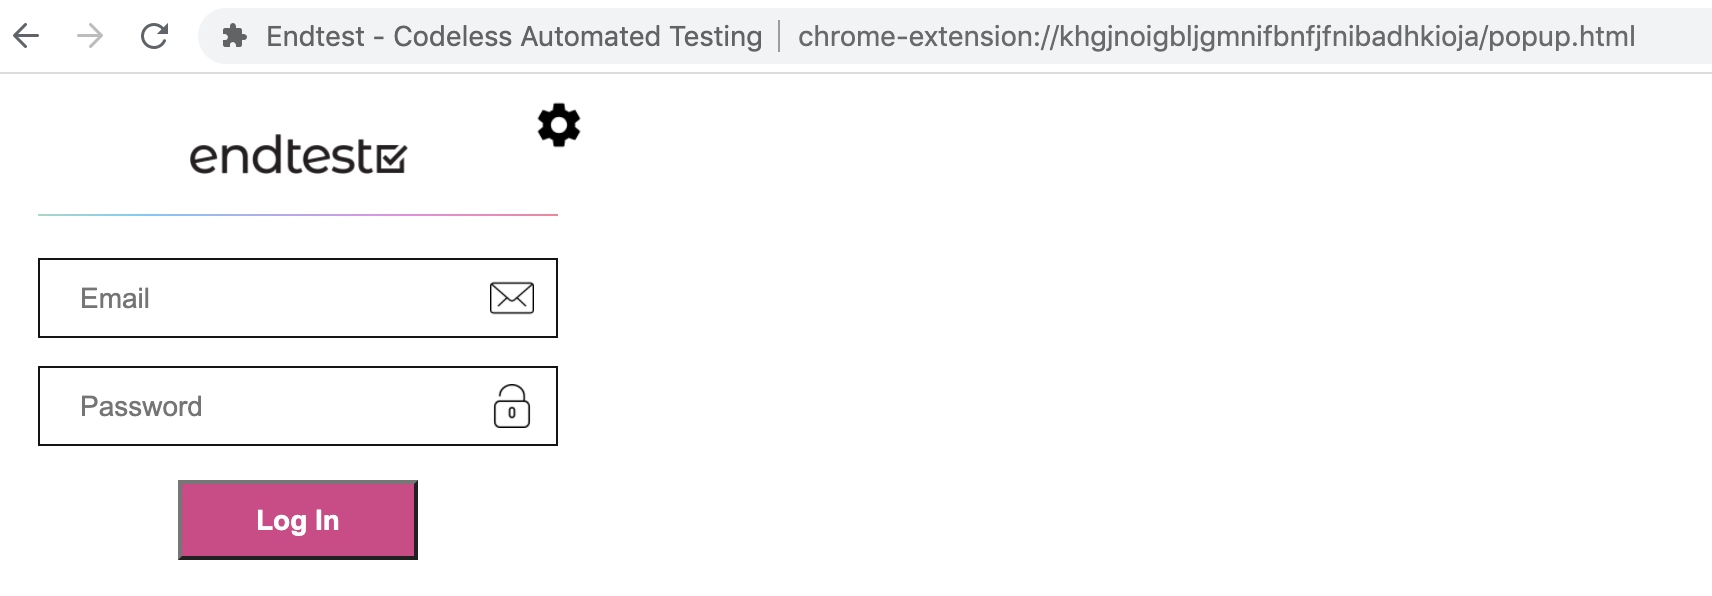
When starting a test with our extension, the popup.html page from the Endtest Chrome Extension will be automatically loaded.
The URL for that page is dynamic and will be different for each test execution.
We will need to access that page again at the end of the test.
And that's why we should fetch it and store it in a variable:
# Store URL for Endtest Chrome Extension in variable
endtest_chrome_extension_url = driver.current_url
This is how our code looks like after adding those steps:
from selenium import webdriver
from selenium.webdriver.common.keys import Keys
from selenium.webdriver.common.by import By
from selenium.webdriver.support.ui import WebDriverWait
from selenium.webdriver.support import expected_conditions as EC
from selenium.webdriver.support.ui import Select
from selenium.webdriver.chrome.options import Options
from selenium.webdriver.common.desired_capabilities import DesiredCapabilities

# Configure and start the WebDriver
chromedriver = "C:\test\chromedriver.exe"

desired = DesiredCapabilities.CHROME
desired['loggingPrefs'] = {'browser': 'ALL','driver':  'ALL'}

options = webdriver.ChromeOptions()
options.add_argument('--allow-running-insecure-content')
options.add_argument('--ignore-certificate-errors')
options.add_argument("--unhandledPromptBehavior=accept")

# Load the Endtest Chrome Extension
options.add_extension("C:\test\endtest_chrome_extension.zip")

driver = webdriver.Chrome(executable_path=chromedriver, chrome_options=options,desired_capabilities=desired)

# Store URL for Endtest Chrome Extension in variable
endtest_chrome_extension_url = driver.current_url

# Log in to the Endtest Chrome Extension
driver.find_element_by_id('userEmailLoginInput').send_keys("user@endtest.io")
driver.find_element_by_id('userPasswordLoginInput').send_keys("your-password")
driver.find_element_by_id('loginButton').click()

# Enter the starting URL for your test
driver.find_element_by_id('urlInput').send_keys("https://swit.io/auth/register")

# Click on the Start Recording button
driver.find_element_by_id('startRecordingButton').click()

# Start the test
driver.get("https://swit.io/auth/register")

driver.find_element_by_id('firstName').send_keys("Saul")
driver.find_element_by_id('lastName').send_keys("Goodman")
driver.find_element_by_id('email').send_keys("saul@example.com")
driver.find_element_by_id('password').send_keys("RandomString@#987")

driver.find_element_by_id('signup').click()

# Quit the test
driver.quit()
In this current state, if we would execute that test, the Endtest Chrome Extension would record the steps but it would not save the test case.
That's why we need to add some steps at the end that will stop the recording and save the test case:
# Go to the Endtest Chrome Extension popup.html page
driver.get(endtest_chrome_extension_url)

# Click on the Stop Recording button
driver.find_element_by_id('stopRecordingButton').click()

# Write name for new test case
driver.find_element_by_id('testCaseNameInput').send_keys("Register Test Case")

# Select existing test suite or new test suite
driver.find_element_by_id('newTestSuiteRadio').click()

# Write name for new test suite
driver.find_element_by_id('newTestSuiteName').send_keys("Swit Test Suite")

# Click on Save button
driver.find_element_by_id('saveRecordingButton').click()
And after adding these final steps, this is how our code would look like:
from selenium import webdriver
from selenium.webdriver.common.keys import Keys
from selenium.webdriver.common.by import By
from selenium.webdriver.support.ui import WebDriverWait
from selenium.webdriver.support import expected_conditions as EC
from selenium.webdriver.support.ui import Select
from selenium.webdriver.chrome.options import Options
from selenium.webdriver.common.desired_capabilities import DesiredCapabilities

# Configure and start the WebDriver
chromedriver = "C:\test\chromedriver.exe"

desired = DesiredCapabilities.CHROME
desired['loggingPrefs'] = {'browser': 'ALL','driver':  'ALL'}

options = webdriver.ChromeOptions()
options.add_argument('--allow-running-insecure-content')
options.add_argument('--ignore-certificate-errors')
options.add_argument("--unhandledPromptBehavior=accept")

# Load the Endtest Chrome Extension
options.add_extension("C:\test\endtest_chrome_extension.zip")

driver = webdriver.Chrome(executable_path=chromedriver, chrome_options=options,desired_capabilities=desired)

# Store URL for Endtest Chrome Extension
endtest_chrome_extension_url = driver.current_url

# Log in to the Endtest Chrome Extension
driver.find_element_by_id('userEmailLoginInput').send_keys("user@endtest.io")
driver.find_element_by_id('userPasswordLoginInput').send_keys("your-password")
driver.find_element_by_id('loginButton').click()

# Enter the starting URL for your test
driver.find_element_by_id('urlInput').send_keys("https://swit.io/auth/register")

# Click on the Start Recording button
driver.find_element_by_id('startRecordingButton').click()

# Start the test
driver.get("https://swit.io/auth/register")

driver.find_element_by_id('firstName').send_keys("Saul")
driver.find_element_by_id('lastName').send_keys("Goodman")
driver.find_element_by_id('email').send_keys("saul@example.com")
driver.find_element_by_id('password').send_keys("RandomString@#987")

driver.find_element_by_id('signup').click()

# Go to the Endtest Chrome Extension popup.html page
driver.get(endtest_chrome_extension_url)

# Click on the Stop Recording button
driver.find_element_by_id('stopRecordingButton').click()

# Write name for new test case
driver.find_element_by_id('testCaseNameInput').send_keys("Register Test Case")

# Select existing test suite or new test suite
driver.find_element_by_id('newTestSuiteRadio').click()

# Write name for new test suite
driver.find_element_by_id('newTestSuiteName').send_keys("Swit Test Suite")

# Click on Save button
driver.find_element_by_id('saveRecordingButton').click()

# Quit the test
driver.quit()
After the execution is completed, we can find the recorded test in our Endtest account.
The following video shows what happens when we run that Python code: